Our searchable database can save you money and maybe your life.
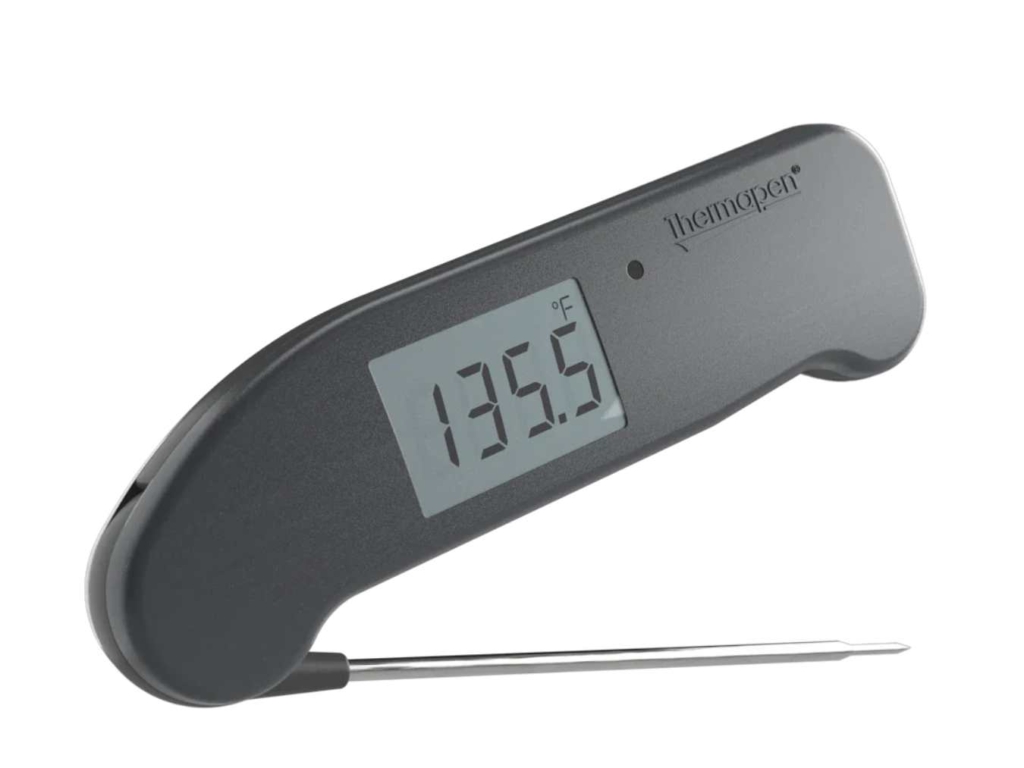
A digital thermometer is the most important tool in a cook’s arsenal. Thermometers save lives and money. They are the only reliable way to determine if food is safe and if you are cooking too hot or cold. In early 2014 Consumer Reports tested more than 300 chickens and found that 90% contained pathogenic bacteria and half of them had antibiotic resistant strains. They said, “It’s vital that you check using a meat thermometer.”
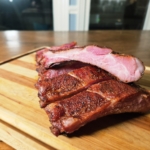
You cannot tell when chicken is safe by looking at the color of the juices. The difference between a medium rare and well-done steak is pretty narrow. The difference between moist tender turkey and a dry chalky bird is just a few degrees. Two pork chops sitting side by side can cook at different rates.

A perfectly cooked steak can quickly become shoe leather if the internal temperature isn’t monitored. Poking with your finger or cutting the meat to determine doneness is just plain guessing. A filet mignon is much softer than a sirloin. The color of meat is vastly different under sunlight, incandescent, fluorescent, or LED light. And it changes when exposed to oxygen. And don’t worry, poking it with a thermometer will not dry it out!
Thermometers are more sophisticated than they used to be. Hand-held instant-reads have gotten much faster and more accurate, and some thermometers come with apps that run on wireless devices such as a cell phone. The biggest changes have been in the in-food/in-oven products.
Initially, a cabled thermometer would just read out the current temperature. Today’s units have programmable alarms that alert the user when the temperature reaches a set level. Many have separate receivers and transmitters that allow you to monitor temperatures from a distance.
The more sophisticated units connect with the internet via Wi-Fi and allow you to view the cooking progress from anywhere you have internet access. Modern thermostatic controllers (similar to the devices that keep a steady temperature in your basic home oven) now allow you to change the cooking profile from an app that runs on both Apple and Android devices.
Wireless connectivity has revolutionized the way outdoor cooking can be done. Bimetal dial thermometers are a technology more than 100 years old. They are slow and not nearly as precise as digital. Liquid thermometers can be very accurate, but they are also slow. They are best for refrigerators and freezers.
How To Pick Thermometers
1) Read Up On The Different Types
You can’t trust that round bi-metal temperature gauge that comes in the lid of most grills and smokers. It can be off my more than 30 degrees! To find out what kind of thermometer you need, bone up on thermometer basics.
2) Use Our Searchable Database
Bill McGrath, our electrical engineer and thermometer expert has tested more than 200, rated and reviewed them, and built a searchable database located on this page. There is nothing like it in the world, and it’s easy to use. Just check the search boxes and you’re off. You can check our ratings on a thermometer you are considering, or search for top rated products by thermometer type.
Bill uses precision equipment and real world scenarios to test and evaluate based on (1) accuracy, (2) speed, (3) features, (4) construction quality, and (5) value. Suppliers are never charged to have products reviewed and the website purchases almost all the products it tests. Here he explains some of how he does it:

3) Use Our Platinum Medals
Once a year, McGrath selects the best of the best and names our Platinum Medal winners. Each of these devices received a Gold Medal during our initial review and has now earned our highest accolade, a Platinum Medal. To see the absolute cream of the crop, click the link below.

 Sign up for a free trial of the AmazingRibs.com Pitmaster Club and experience everything that the world's largest membership-based BBQ and grilling community has to offer!